
Set Up Payments
Connect a payment processor and set custom payment instructions for your network.
Connect a payment processor so patient payments can flow through your network. Add custom payment instructions when your care model needs them. Payment is the first gate an order passes — set this up before going live. Who can do this: Admins — see Roles & Permissions.
Open SettingsBilling vs. Settings
Two pages touch money:
| Page | Handles |
|---|---|
| Billing | Payment processor setup — Stripe or another supported processor — plus custom payment instructions. |
| Settings | Primary billing contact, billing address, and the payment method for your network's own account billing. |
Visit pricing for a linked client is set on that client's profile, not in Settings — see Assign Providers.
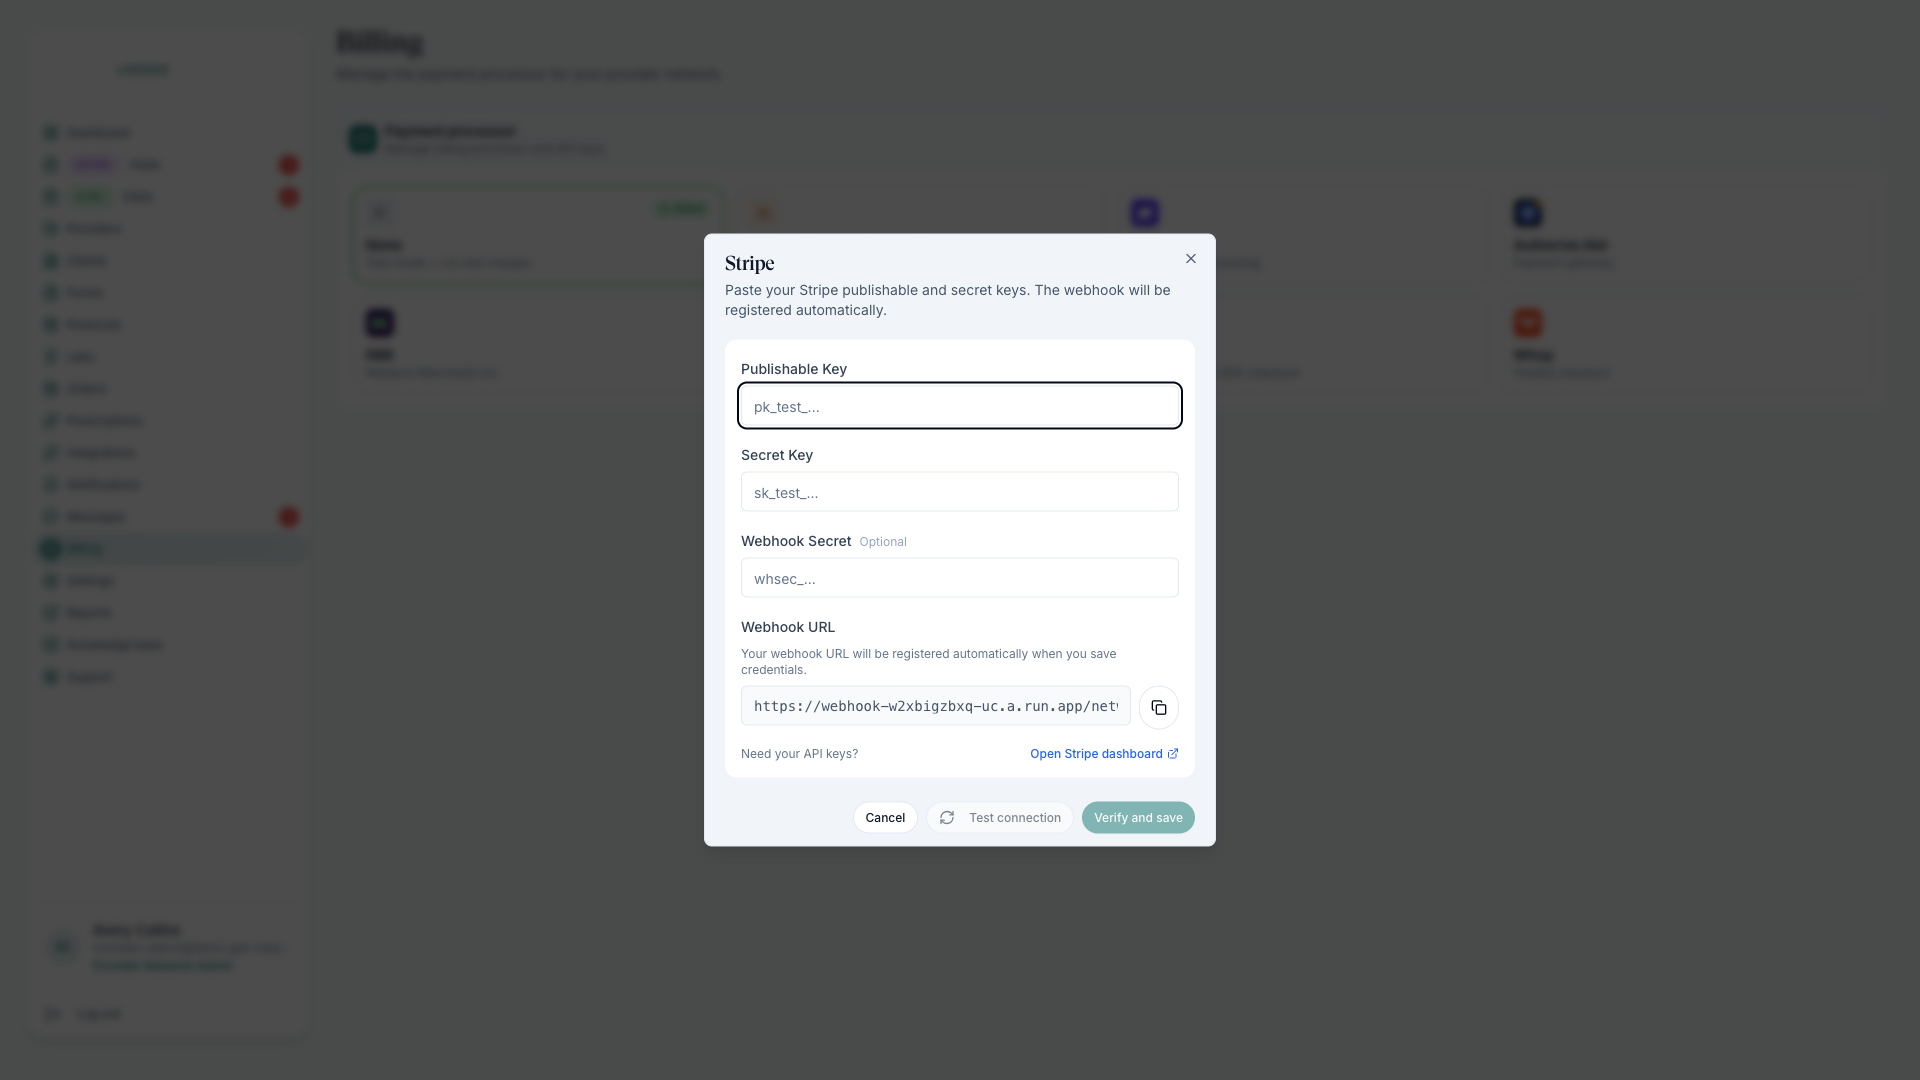
Connect your processor
Choose the processor
Open Billing and select the processor for patient payments.
Save credentials securely
Enter credentials only in the secure credential fields — nowhere else, not even temporarily.
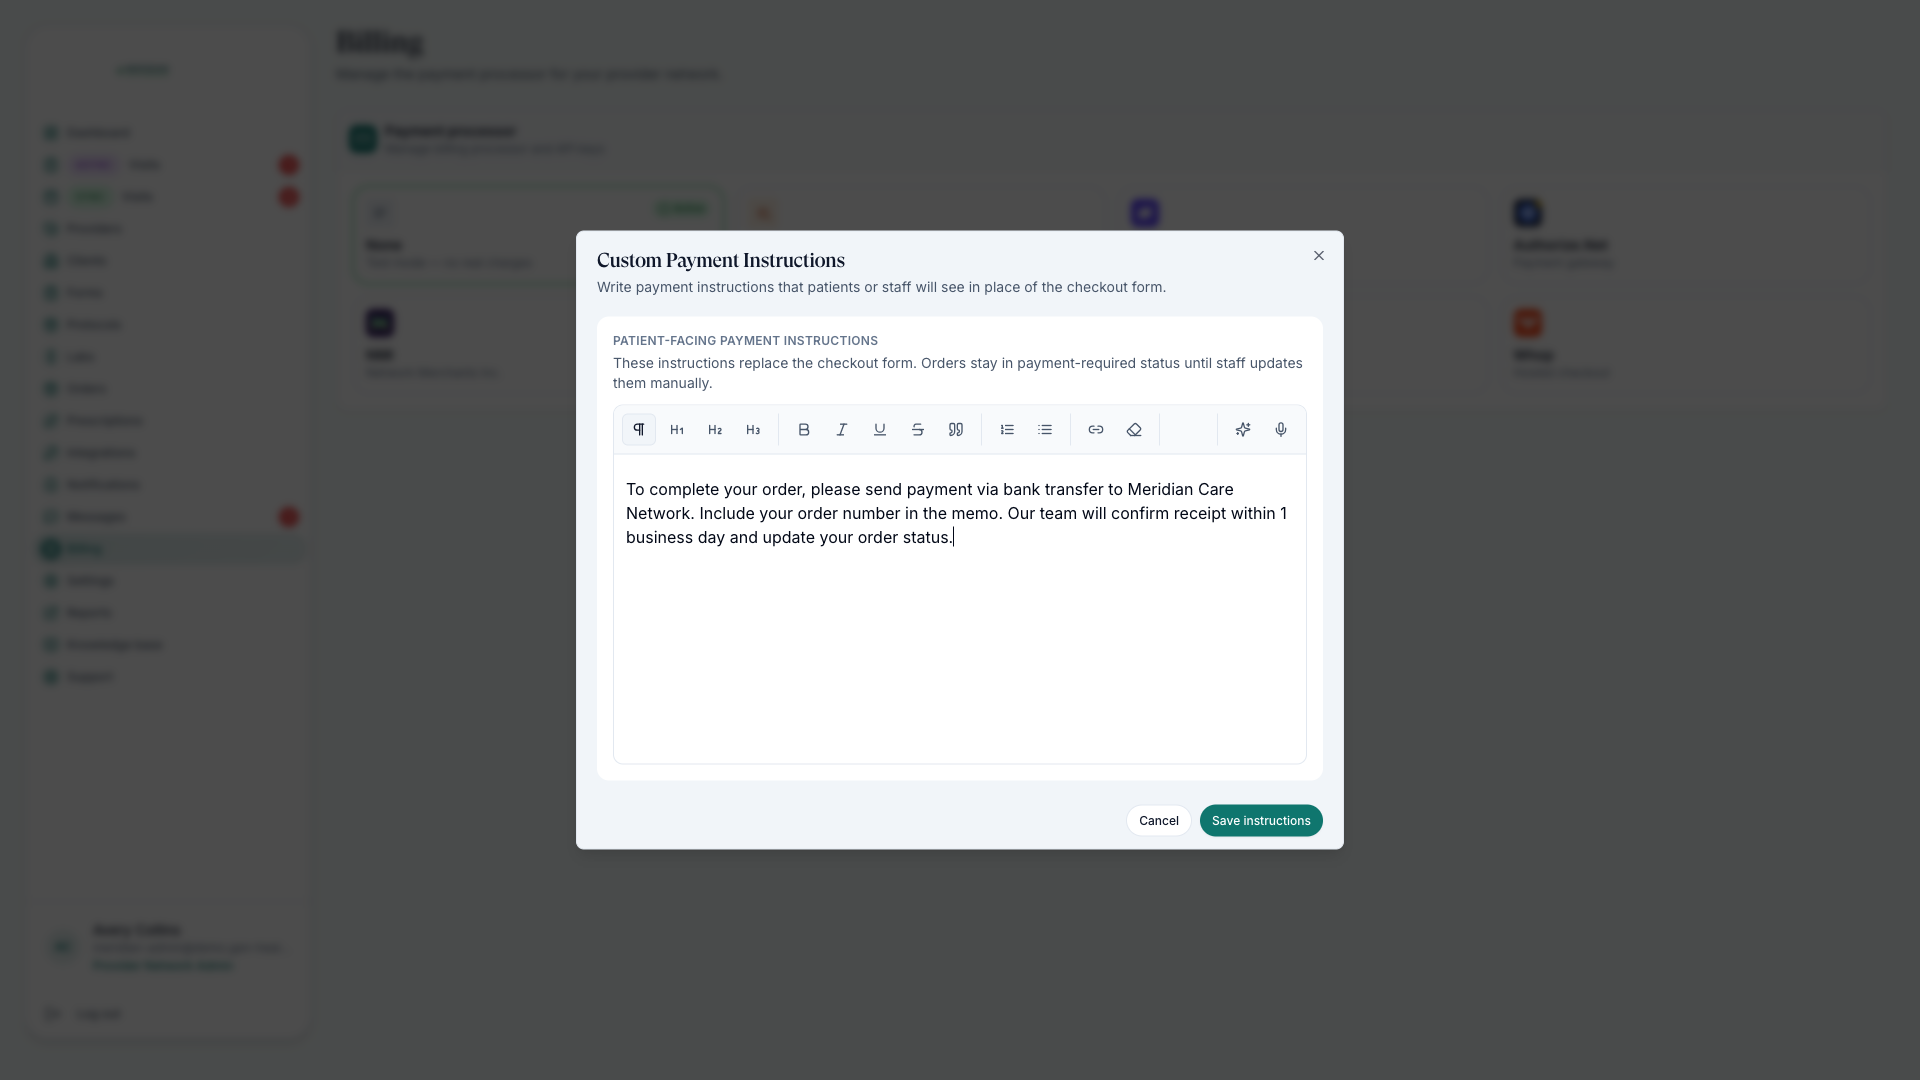
Add custom instructions if needed
Use custom payment instructions when patients should follow manual or external payment steps.
Test one full order path
Confirm a patient can pay, the order updates, and it continues into forms, lab review, visit review, or pharmacy fulfillment — then watch it in Track Orders.
Never paste processor secrets into notes, tickets, messages, or guide comments. Credentials belong only in the secure credential fields on Billing.
Common questions
Why do some clients use their own payment credentials?
It depends on the client's service model. Some collect payment under their own processor; others run patient payments through yours.
Which processors are supported?
Billing lists the supported processors — Stripe among them. Choose from what's available.
What are custom payment instructions for?
When the patient should follow manual or external payment steps instead of a standard processor charge.
Was this helpful?